[안드로이드 스튜디오] - 타이틀바 커스텀하기
2022. 4. 3. 22:25ㆍ모바일/안드로이드
반응형
테마를 NoActionBar로 변경하고 새로운 actionBar를 만들어서 커스텀하는 방식 사용
상태바 VS 타이틀바
상태바
- 휴대폰 화면 최 상단에 위치
- 시스템 자체에서 나타내는 상태를 보여주는 부분
- 개발 시에는 색상의 변경 정도만 가능함
- res > value > themes > themes.xml에서 변경 가능- item의 android:statusBarColor에서 원하는 색상으로 변경 후 사용
- 색상은 item의 colorPrimaryVariant로 설정한 색상이 기본 적용되어있다.
- 시간, 배터리잔량, push 알림, 등등 안드로이드 자체 설정에서 편집이 가능
타이틀바
- 자신이 만든 App의 제목을 나타내는 Bar
- 기본으로 주어진 타이틀바를 사용할 경우 제목 변경 가능- res > values > strings.xml에서 app_name의 value값을 변경해주면 된다.
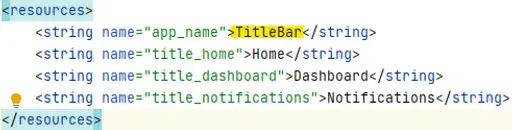
- res > values > strings.xml에서 app_name의 value값을 변경해주면 된다.
- 메뉴버튼이나 색상 자유롭게 변경 가능
- 보통은 커스텀을 위해서 기본 제공되는 타이틀바 제거 후 새로 만들어서 사용
테마 -> NoActionBar로 변경하기
방법
1. 기본적으로 적용되어있는 style을 NoActionBar로 변경하기
2. 기본적으로 적용되어있는 style에 item을 추가하여 noActionBar로 만들기
3. 새로운 style을 만들어서 AndroidManifest에 적용하기
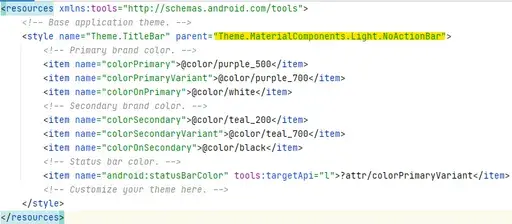
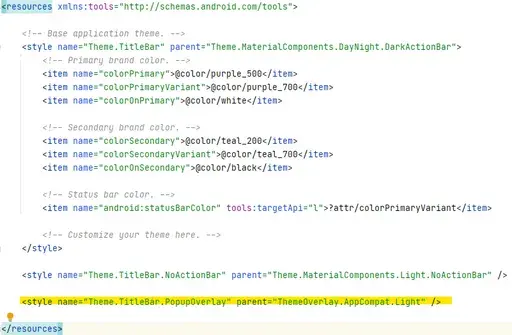
기본적으로 만들어져 있는 테마 style
<resources xmlns:tools="http://schemas.android.com/tools">
    <!-- Base application theme. -->
    <style name="Theme.TitleBar" parent="Theme.MaterialComponents.DayNight.DarkActionBar">
        <!-- Primary brand color. -->
        <item name="colorPrimary">@color/purple_500</item>
        <item name="colorPrimaryVariant">@color/purple_700</item>
        <item name="colorOnPrimary">@color/white</item>
        <!-- Secondary brand color. -->
        <item name="colorSecondary">@color/teal_200</item>
        <item name="colorSecondaryVariant">@color/teal_700</item>
        <item name="colorOnSecondary">@color/black</item>
        <!-- Status bar color. -->
        <item name="android:statusBarColor" tools:targetApi="l">?attr/colorPrimaryVariant</item>
        <!-- Customize your theme here. -->
    </style>
</resources>
방법 1. 기본 style을 NoActionBar로 변경하기
- res > values > themes > themes.xml에서 style parent 변경하기
<style name="Theme.TitleBar" parent="Theme.MaterialComponents.Light.NoActionBar">
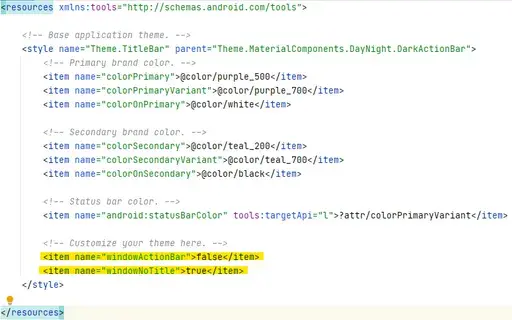
방법 2. 기본 style + item -> noActionBar
- res > values > themes > themes.xml에서 item 추가하기
    <item name="windowActionBar">false</item>
    <item name="windowNoTitle">true</item>
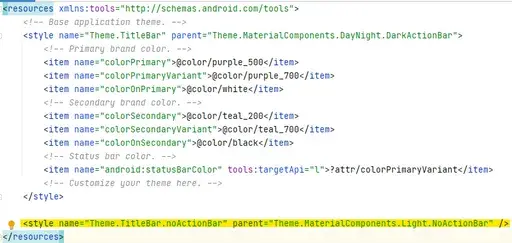
방법 3. 새로운 style 만들어서 androidManifest에 적용하기
- res > values > themes > themes.xml에서 style parent 설정하기
- 보통의 name 구성 방식과 동일하게 만들었다
- style name: Theme.TitleBar.noActionBar로 설정 - style parent: 1번의 방식처럼 NoActionBar로 설정
<style name="Theme.TitleBar.noActionBar" parent="Theme.MaterialComponents.Light.NoActionBar" />
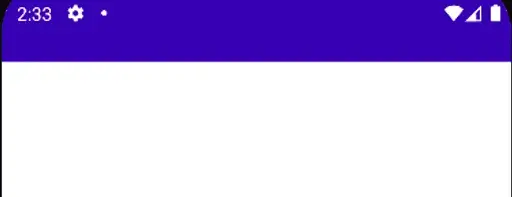
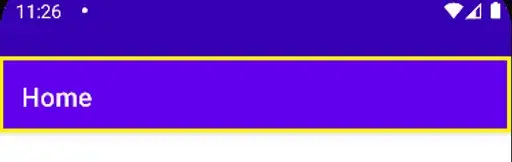
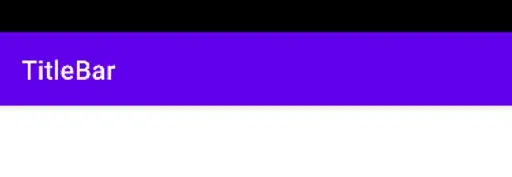
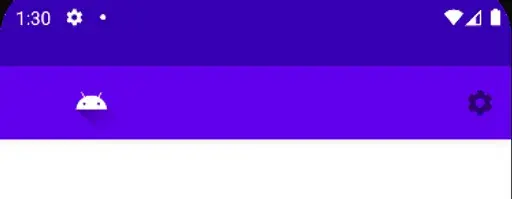
만약 상태바도 없애고 싶다면!
- 비교를 위해서 타이틀바를 보이게 설정해놓았음
- 애뮬레이터로 확인한 모습.. (애뮬레이터 버전으로 인하여 상태바 부분이 사라지지 않고 검게 보이지만) 실제 휴대폰에 적용 시 fullscreen이 된다!
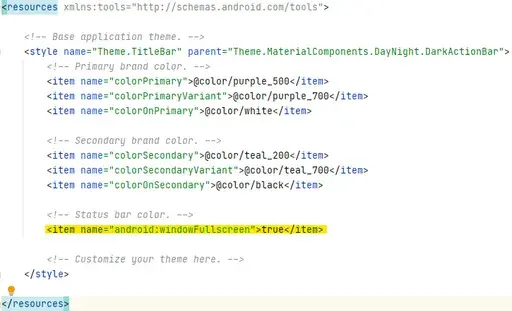
방법 1. 기본 style에서 Fullscreen 설정해주기
★ 하지만 이 방법은 적용이 안 되는 경우가 있다 ★
- 방법 2를 더 추천.
<item name="android:windowFullscreen">true</item>
방법 2. MainActivity에 적용하기 (Kotlin 사용)
window.setFlags(WindowManager.LayoutParams.FLAG_FULLSCREEN, WindowManager.LayoutParams.FLAG_FULLSCREEN)

새로운 actionBar 만들고 Custom하기
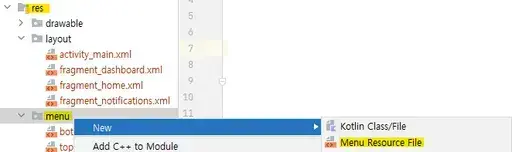
menu > topNavMenu를 사용할 xml 파일 만들기
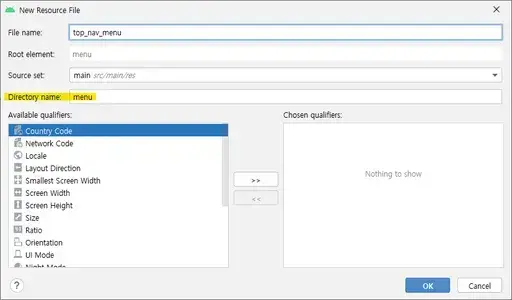
- res > menu > New > Menu Resource File
- 파일명과, 경로 등을 설정 후 OK
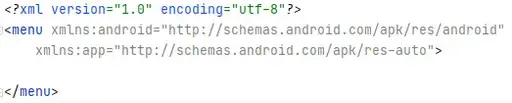
- item을 사용하여 menu 커스텀하기
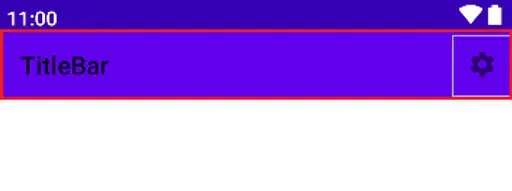
- 설정 icon을 actionBar에 넣어볼 예정icon은 Vector Asset으로 만든 icon을 사용.
showAsAction의 ifRoom은 공간이 있을 때는 icon을 보여주고 공간이 없을 때는 햄버거버튼으로 보여준다
햄버거버튼으로 보여줄 경우 title이 보여진다. - xml 파일의 Design 화면

activity_main.xml에 Toolbar 설정하기
- res > layout > activity_main.xml
- AppBarLayout 내에 Toolbar
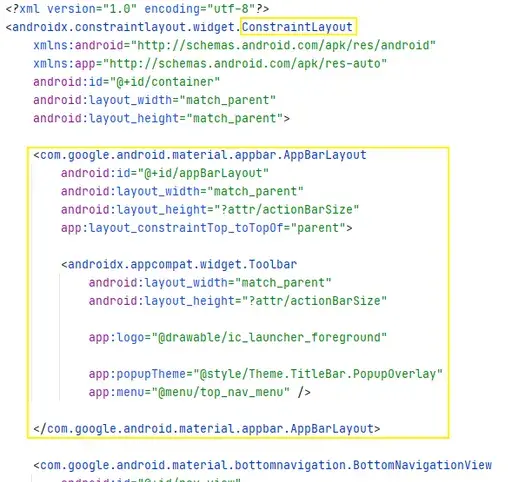
<com.google.android.material.appbar.AppBarLayout
        android:id="@+id/appBarLayout"
        android:layout_width="match_parent"
        android:layout_height="?attr/actionBarSize"
        app:layout_constraintTop_toTopOf="parent">

        <androidx.appcompat.widget.Toolbar
            android:layout_width="match_parent"
            android:layout_height="?attr/actionBarSize"

            app:logo="@drawable/ic_launcher_foreground"

            app:popupTheme="@style/Theme.TitleBar.PopupOverlay"
            app:menu="@menu/top_nav_menu" />

</com.google.android.material.appbar.AppBarLayout>- 기본값 :: ConstarintLayout --> AppBarLayout에 constraint 설정해주기
- ?attr/actionBarSize는 애뮬레이터 사이즈에 맞춰서 56dp로 설정했고 기본적으로 적용되어있는 actionBar 사이즈에 맞췄다.
- popupTheme의 PopupOverlay style은
- res > values > themes > themes.xml에 새로운 style 설정해놓음
<style name="Theme.TitleBar.PopupOverlay" parent="ThemeOverlay.AppCompat.Light" />
- menu에 위에서 만들어줬던 top_nav_menu.xml 파일을 연동시켜주면 된다.
네비를 클릭했을 때 정해진 Fragment로 변경이 되는데..
이 때 fragment xml에 설정한 윗부분이 타이틀바에 의해서 가려진다
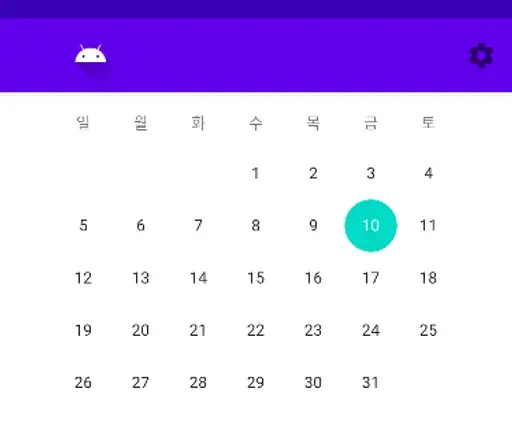
- 임의로 HomeFragment에 캘린더뷰를 추가했다
- 이를 애뮬레이터에 띄워보면 위의 연도 부분이 타이틀바에 가려져서 보이지 않는다.
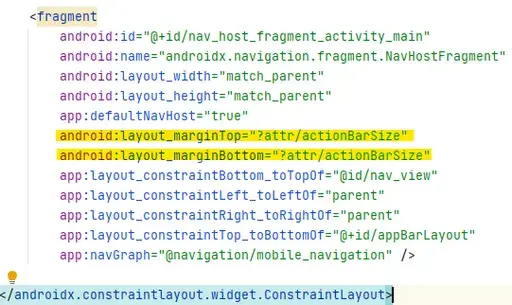
네비바와 타이틀바를 추가하는 부분에 margin 주기
- res > layout > activity_main.xml
- actionBarSize만큼 위 아래의 margin을 주었다!
android:layout_marginTop="?attr/actionBarSize"
android:layout_marginBottom="?attr/actionBarSize"
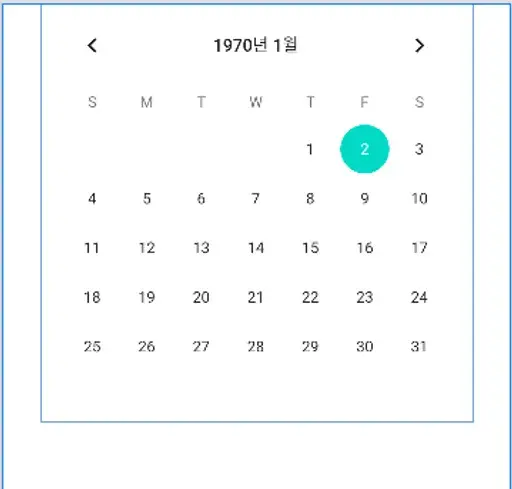
- 빨간색 부분이 Fragment가 들어갈 부분
- 연도를 포함한 fragment의 모든 부분이 나오는 걸 확인할 수 있다!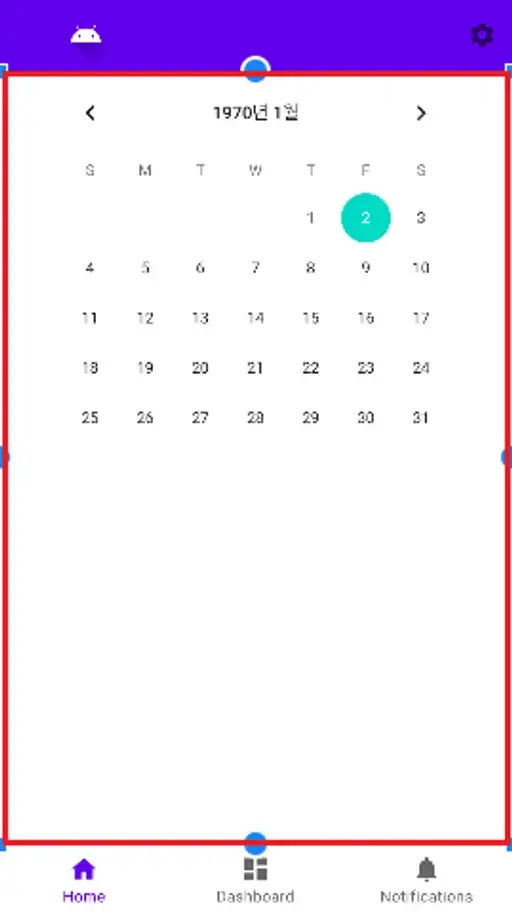
728x90
반응형
'모바일 > 안드로이드' 카테고리의 다른 글
| [안드로이드 스튜디오] - StatusBar & NavigationBar 높이 구하기 (0) | 2022.04.19 |
|---|---|
| [안드로이드 스튜디오] - fragment에서 View 애니메이션 구현하기 (0) | 2022.04.19 |
| [안드로이드 스튜디오] - 무선으로 휴대폰 연결하기 (0) | 2022.04.07 |
| [안드로이드 스튜디오] - Fragment로 주간 캘린더 만들기 (0) | 2022.04.05 |